

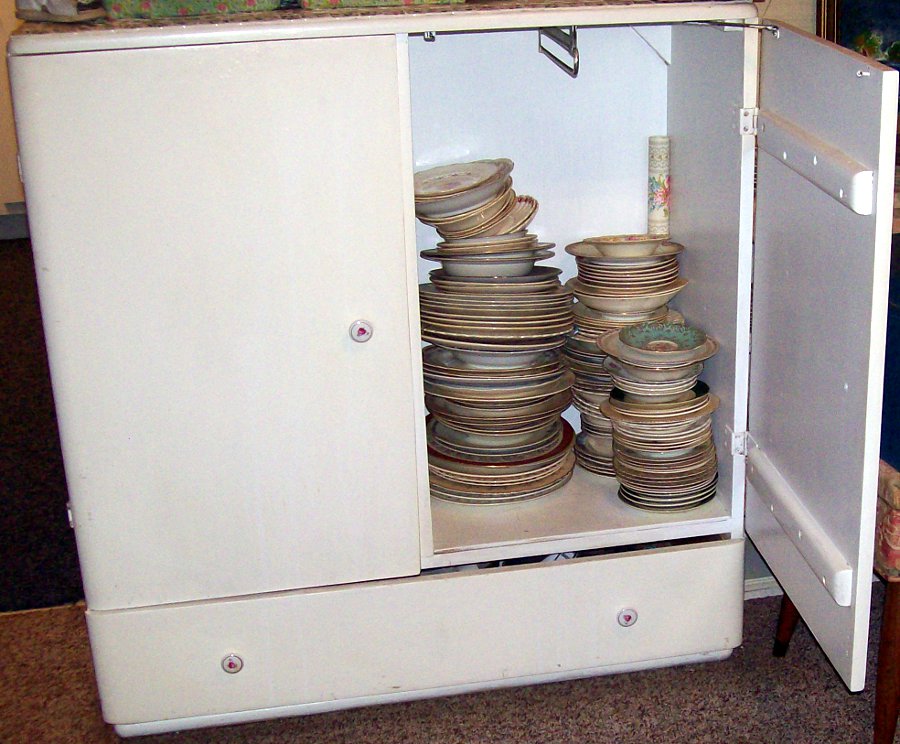
This baby is pure magic!! But more about that later. First I want to start with your first step; acquiring lots and lots of china. Now see, I'm a shabby vintage pink roses kind of girl. And so that is what I hunt for to use in my mosaics. But other people have other taste and so any kind of china can be used. Just beware that today's china, often made in China, is very tough and can be hard to cut. Sometimes a hammer is needed for some of it!! That being said, here are some photos of some of my china:


Now one thing about china mosaics is that very often, your china once cut into pieces, will vary in thickness. This frustrated me beyond belief. I would want to use a piece next to another, yet one would be soooo much thicker that the thinner one would get lost in the grout and/or leave huge deep "grooves" in my work. I just couldn't continue until I found the answer...and then I did...Thinset!! (or Mastic as it is sometimes called) Thinset is basically just tile adhesive often used when installing tiles on bathroom walls. It is very thick and can be used to "build" up your thinner tiles to meet with the thicker ones. It was/is a total lifesaver for me. With this adhesive your finished project will have a wonderful nice level surface; no more "dips and valleys".
To apply my adhesive I use wood craft sticks. But I'm jumping ahead of myself...before you can apply that you need of course to cut your pieces. I use a dish pan to cut into to catch the mess but of course there is still a mess. And I use a small plastic container to hold the amount of thinset I will need, keeping the orginal container tightly sealed. Anyway, here is a photo of what you need to get started:

I have an Amazon page (see to the right) with links to get you started. Or you can check your local craft store and/or home improvement stores. I will be back tomorrow to get going on the actual cutting process!
2 comments:
Hey Kristi, thanks for posting on The Antique Emporiums facebook page...I've just followed you through my blog...My Trinkets. I live in Rockledge and just found some pink flamingos just like yours too!!
Love your mosaic work, you should think about becoming one of our vendors at Fancy Flea and Farmers market at The Antique Emporium in Cocoa, April 7th. Free for first time vendors.
Sylvia
Hi Kristi! Congrats on starting a blog....Do you know that I have stopped creating mosaics? I just got burned out on it. Now I am into painting furniture...
Hugs,
Penny
Post a Comment